VimWiki is a really great notetaking extension for Vim. Whether you just want a quick scratchpad or a full-fat personal wiki, it’s very flexible and might be of use to you.
Editing notes in the terminal, as opposed to a dedicated application like Obsidian, allows me lightning fast access from anywhere in my system, even when I’m connected remotely. Like Obsidian, the notes are simply text files, making file sync easier. Unlike Obsidian, there’s no image layer- I’m just looking at text while jotting down my notes. (My brain likes this, yours might not.)
I write up all of my scripts and research in VimWiki, and I also keep my shopping lists, as well as a basic task management system (checkboxes in a text file). It’s slick in that it’s simple, and that’s what I want. Plus, since it’s all just text files, I can sync them with my phone via Nextcloud and their Notes app.
Here’s how I set it up on my devices.
What you need before you start
I’ve used VimWiki on both Vim and Neovim, and haven’t had any issues on either system. That said, I tend to prefer Vim in general because it’s what I started with and it’s more likely to be easily available (or already installed).
Then you’ll need to add three lines to .vimrc:
set nocompatible
filetype plugin on
syntax on
These do the following:
set nocompatibleallows enhancements to Vim that aren’t compatible with the olderviimplementation.filetype plugin onenables loading plugins for specific filetypes.syntax onenables syntax highlighting.
These may or may not already be in your .vimrc so it’s best to have a look and make sure there’s no conflicts.
Install VimWiki
Once .vimrc is set up you can install VimWiki.
I’m on Linux (Debian and Ubuntu-derived systems mostly), so I make sure git is installed and then I use the native Vim packages implementation:
git clone https://github.com/vimwiki/vimwiki.git ~/.vim/pack/plugins/start/vimwikiVim packages has been my preferred way to customize Vim for a while now, because I prefer to control plugins via Git instead of relying on yet another package manager.
That said, in the past I used Vim-Plug and Pathogen, and both worked totally fine with VimWiki.
After it’s installed, you’ll probably want to run :Helptags to generate docs, or, as VimWiki recommends:
vim -c 'helptags ~/.vim/pack/plugins/start/vimwiki/doc' -c quitWith that, you should have a VimWiki ready to initialize!
Using VimWiki
Anywhere in Vim, you can run <leader>ww to launch VimWiki. <leader> is a special key in Vim and by default, it’s mapped to backslash (this key: \). Lots of folks change that key mapping though, and VimWiki respects that.
The first time you launch VimWiki, it’ll offer to create a new index.wiki file in your Home directory under a vimwiki subdirectory.
If you don’t care about using Markdown, this is a fine place to get started. I typically change the syntax to Markdown though, and I’ll cover that a bit down the page.
The default syntax uses *asterisks* to create bold text, and _underscores_ to create italic text. Headers are designated with = Equal Sign Wings = which isn’t my favorite but works.
Links are created in traditional Markdown format: square brackets around a word to create a page with that name, like [[this right here]], which would create a new file called “this right here.wiki“. If you want to specify a differing path than the description (including subdirectories), that follows the traditional Markdown method of [[path/to/file|friendly name]].
To navigate to a link, drop to normal mode and hit <enter> on a link: VimWiki will create the file for you if it doesn’t already exist!
<backspace> is like a “back button” for your wiki, and there’s a ton of other navigational commands, which are well documented on their website as well as the :h vimwiki page in Vim.
<leader>w<leader>w is one of my favorites, because it’ll automatically generate a diary page with today’s date as the title. This is super helpful for keeping a work log without taking your hands off home row.
And there’s a rudimentary checkbox system with - [ ] task to check, which allows for nesting and can be toggled from normal mode with <ctrl><space>.
Configure VimWiki with Markdown (and update the Wiki path)
I typically sync VimWiki with Nextcloud Notes, mainly because Nextcloud Notes has a reasonable Android application which I’ve appreciated for years, and it offers dead simple file sync between all of my devices.
Of course, Nextcloud Notes tends to prefer Markdown, and frankly, so do I. I end up using Markdown often enough that it’s become second nature to me. Luckily it’s easy to change!
To update your syntax to Markdown, add this to .vimrc:
let g:vimwiki_list = [{ 'syntax': 'markdown',
                      \ 'ext': 'md'}]
This updates the vimwiki_list dictionary in two places:
- The
syntaxkey’s value has been changed fromdefaulttomarkdown, and - The
extkey’s value has been changed fromwikitomd.
Then, because Nextcloud Notes typically saves notes inside ~/Nextcloud/Notes/, and not ~/vimwiki/, you may want to make an additional change to sync your notes between devices.
You could just tell Nextcloud Desktop to do a bunch of nonsense to sync the default Notes directory with ~/vimwiki/, but it’s probably much easier to just add this to the same block we tweaked already in .vimrc:
let g:vimwiki_list = [{ 'syntax': 'markdown',
                  \ 'ext': 'md',
                  \ 'path': '~/Nextcloud/Notes/'}]
This updates the vimwiki_list dictionary one more time:
- The
pathkey’s value has been from~/vimwiki/to~/Nextcloud/Notes.
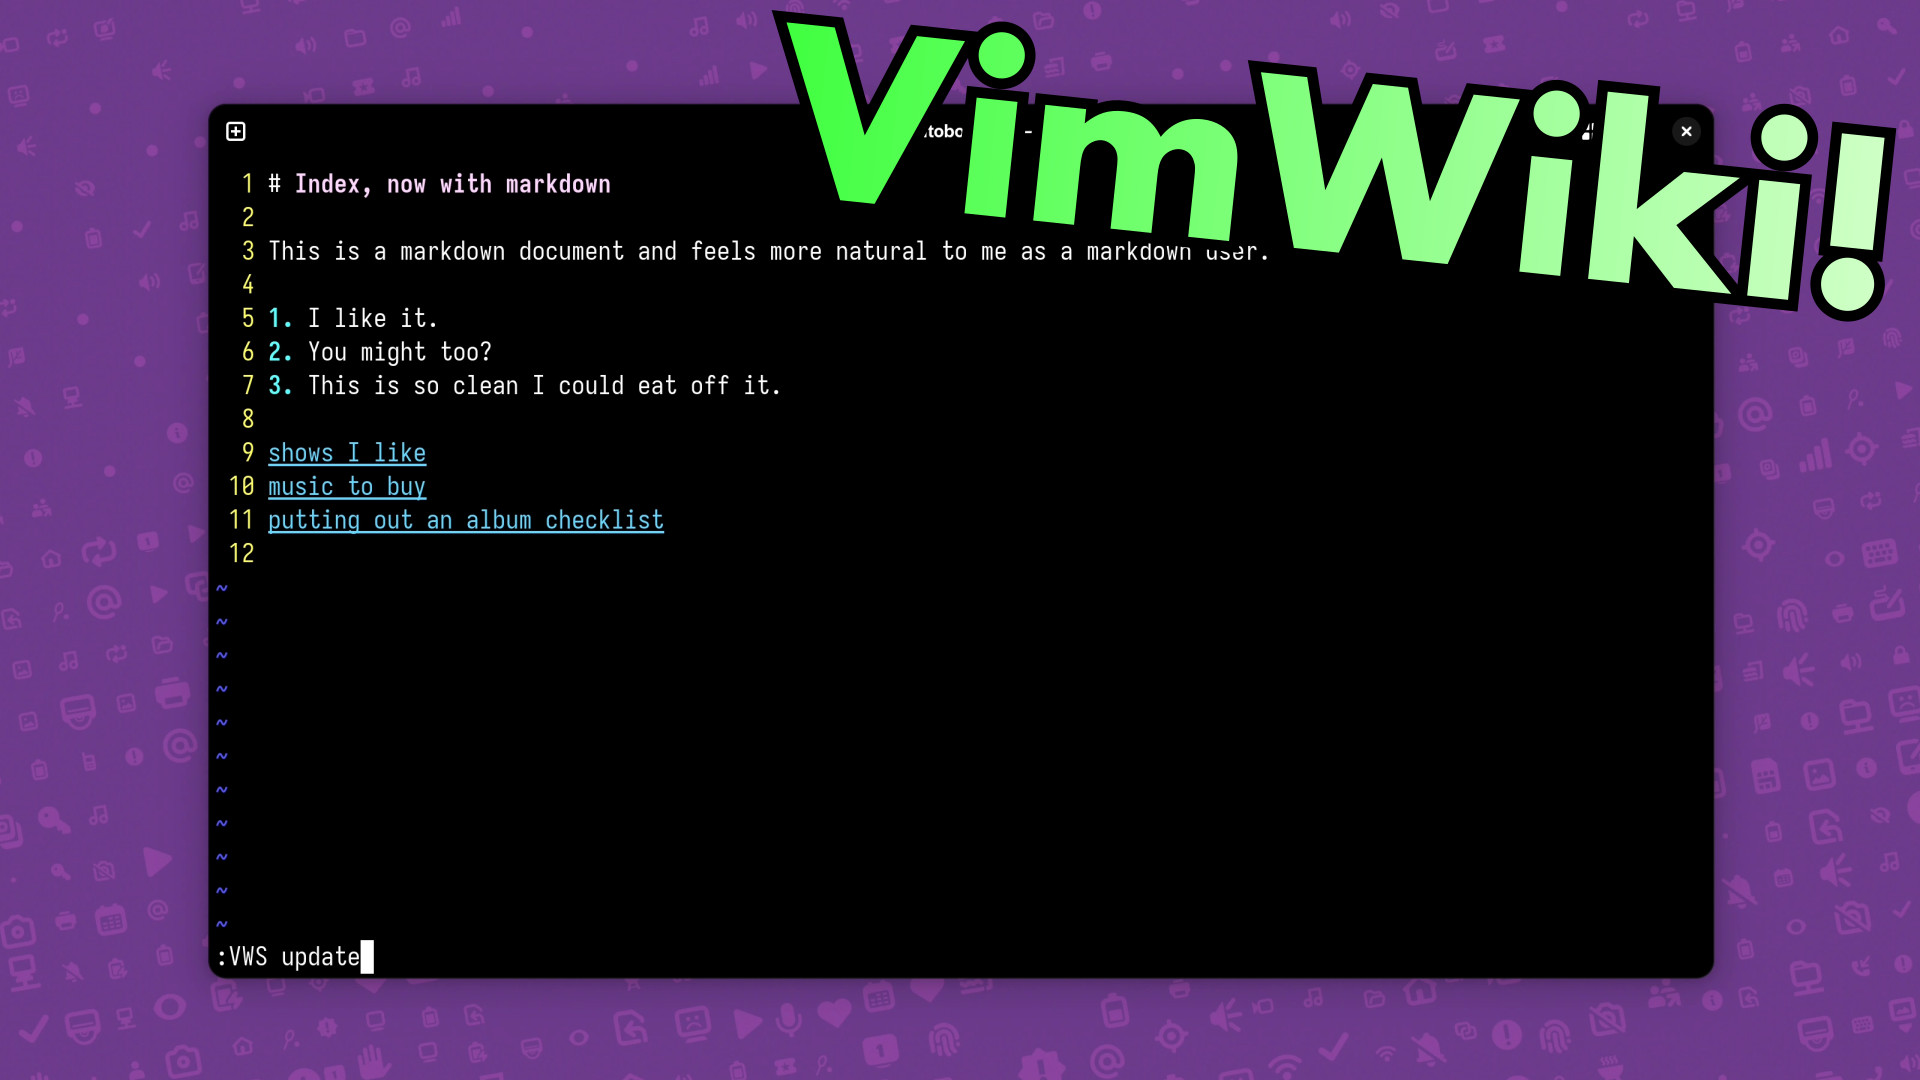
Conclusion: I like VimWiki and you might too
I really appreciate the simplicity of VimWiki.
I’ve tried Joplin and Obsidian and both felt way too… involved? for a notetaking application.
I don’t want a complicated tagging system or mind mapping or images in my notetaking application. What drew me to Vim in the first place was keeping things really simple, so that my mind can safely wander and not get distracted by shiny colors or big graphics.
VimWiki is the kind of stripped down notetaking solution I’d expect from Vim fans. It’s not trying to be org mode: it’s just… my notes. Nothing to sell me, nothing to distract me, beyond my own imagination.
Thanks for reading!
The written version of Veronica Explains is made possible by my Patrons and Ko-Fi members. This website has no ad revenue, and is powered by everyday readers like you. Sustaining membership starts at USD $2/month, and includes perks like a member-only Matrix/Discord space. Thank you for your support!