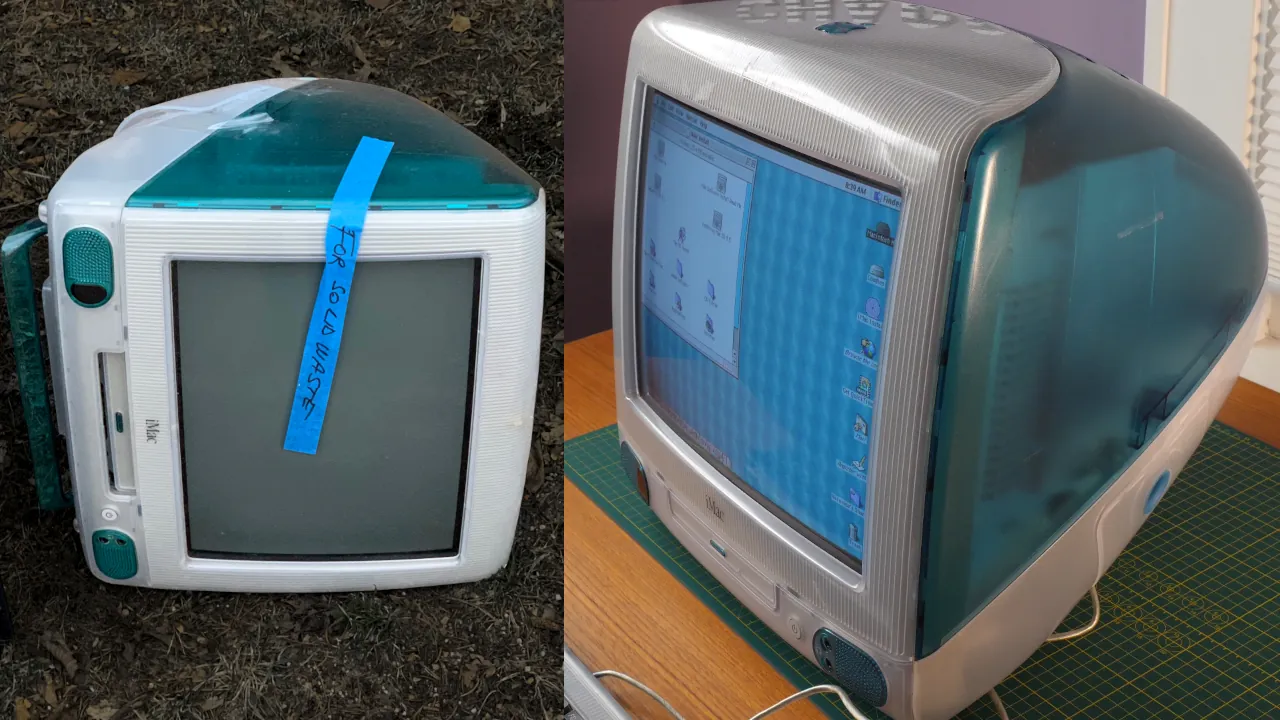
Last spring, I got a text from my good friend, and frequent collaborator, Bryce from the band Midnight Notion. The message just contained an address and a picture of a Bondi Blue iMac G3 lying in the dirt and grass.
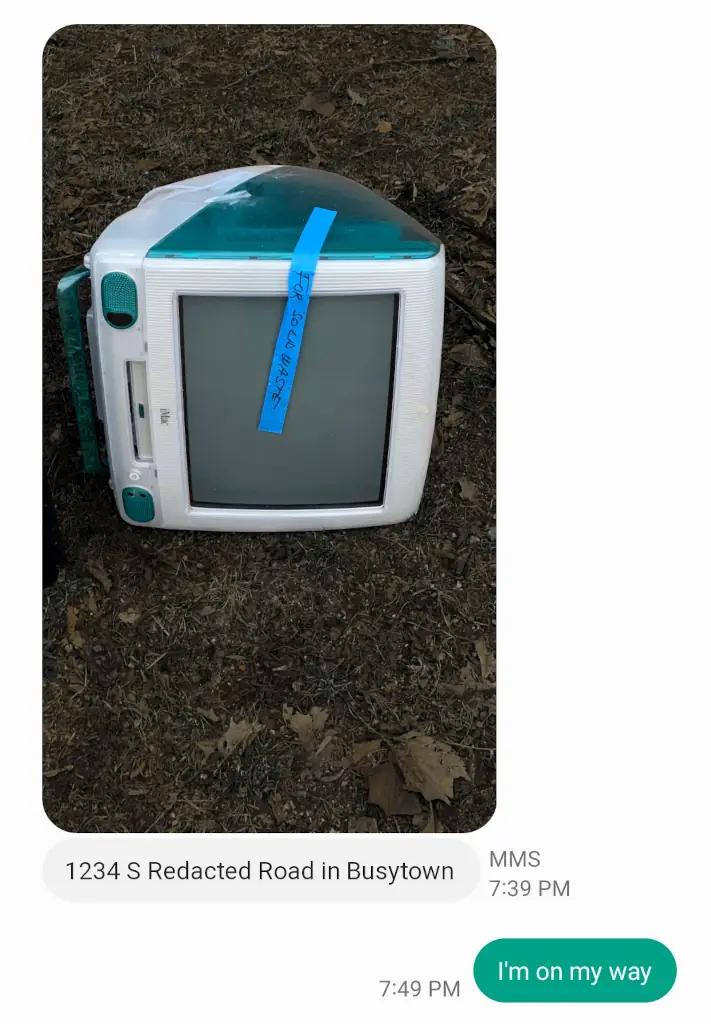
I sprang into action to pick it up, but it took me a few months to be able to actually get cracking on the whole repair. Life, right? I published a video on YouTube/PeerTube going into the specifics, but here’s a rundown of what I did.
Assessing the damage
To start with, the whole thing was basically packaging-taped together. That was icky, and took an hour or so to clean off (it’s still not all the way off, I’ll be picking tape off of this thing forever).
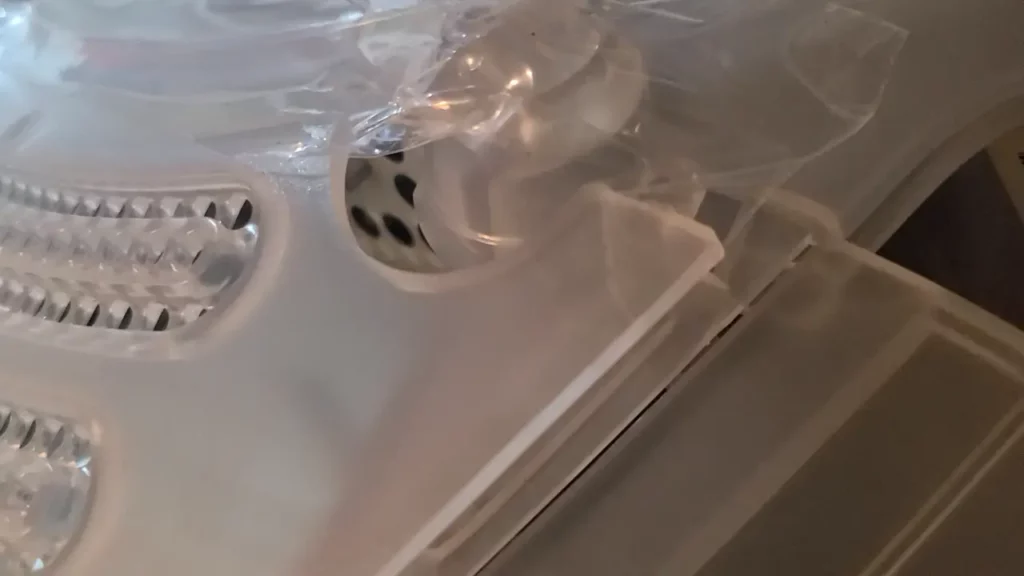
After getting the tape free, I could see that I was working with a mostly intact iMac G3. It still had many of the plastic components that came with it- apparently the packaging tape did a good job of holding it all together! I’m particularly excited that the kickstand wasn’t broken, although I’m missing a retention clip to hold it in place.
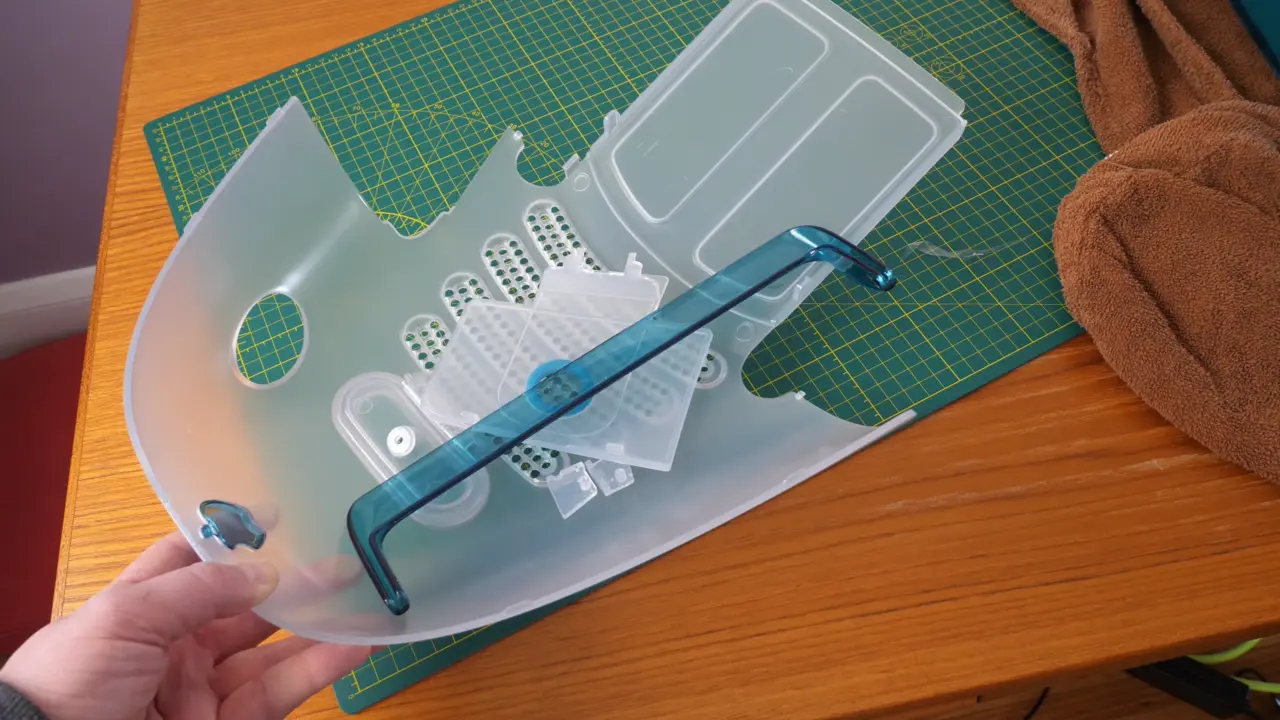
I was also missing all of the screws for this thing- the screws were easy to find on eBay but the retention clip is going to be a bit of a hunt.
Cleanup, testing, and reassembly
I cleaned up the logic board (with isopropyl alcohol) as best as I could- everything was there aside from the original hard disk drive. My guess is that someone had pulled the drive out of this iMac and either decided to trash it or left it for a future repair that never happened.
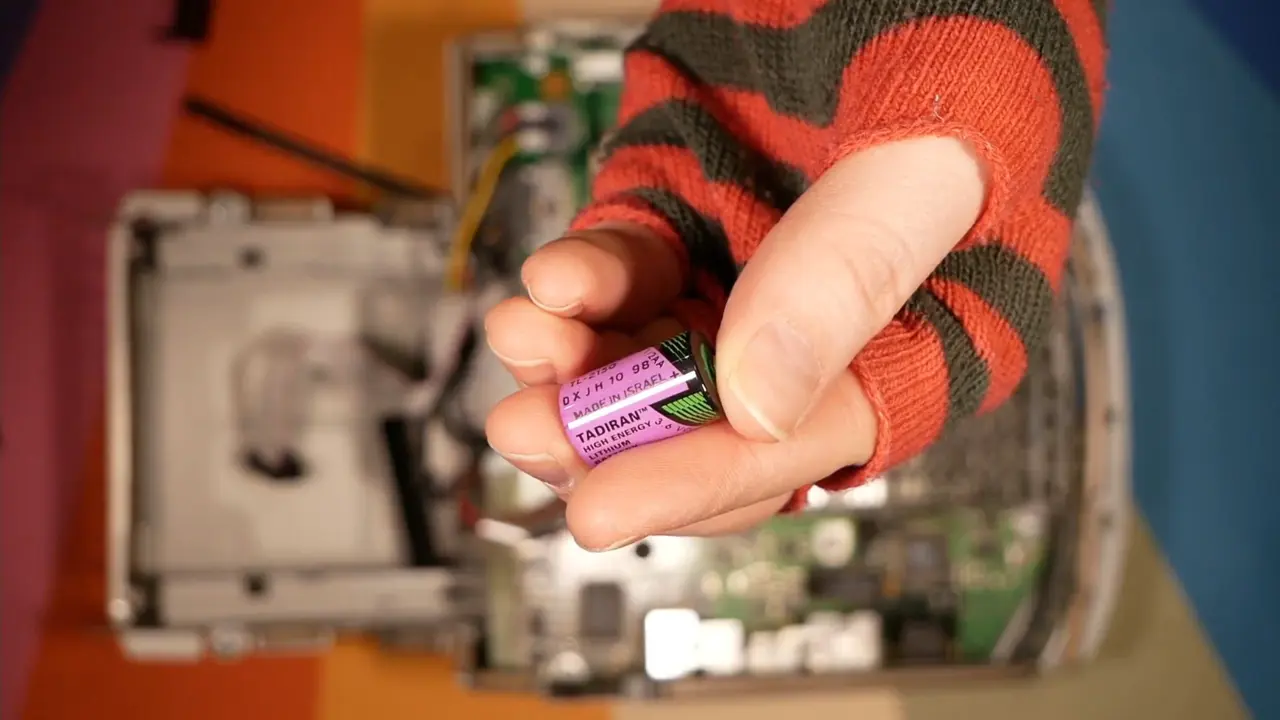
I also removed the battery. Always remove the clock batteries from old computers! These things can completely destroy a board if given the chance.
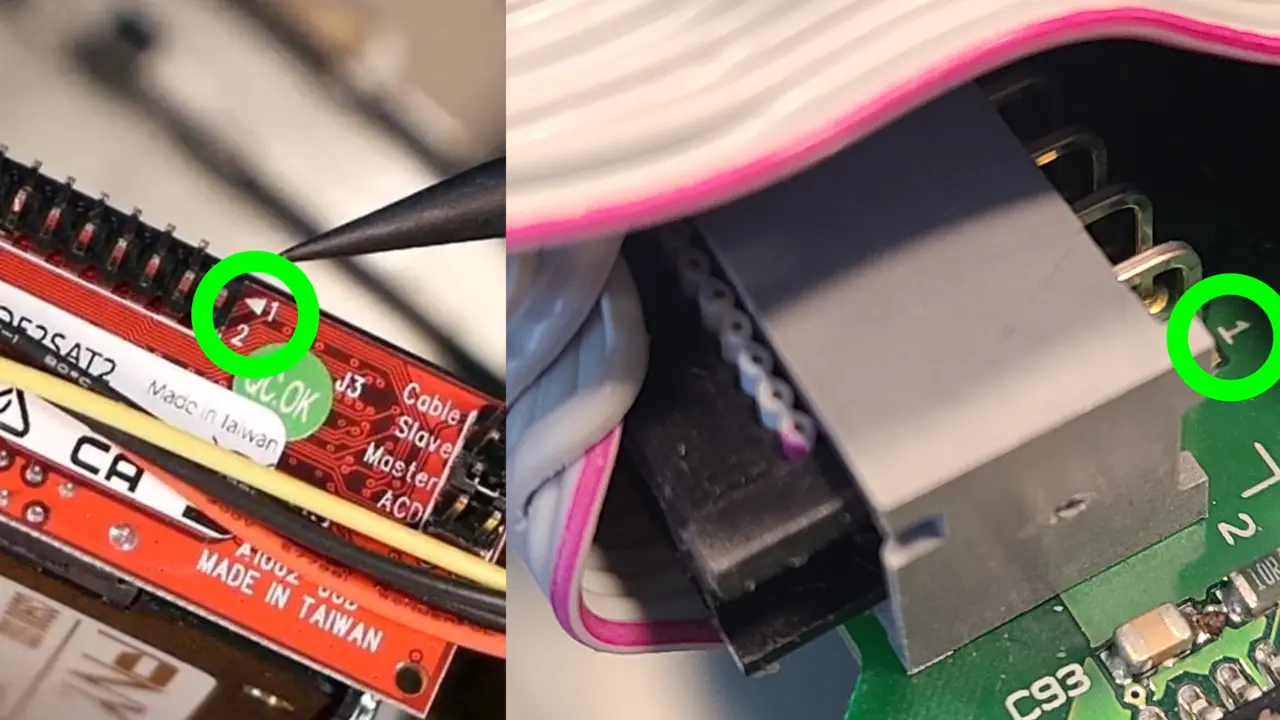
While I had it open, I decided to add an SSD with a SATA-to-IDE converter from StarTech (not sponsored, I bought it with my own money). This way I could install an OS on it if it ended up working. The IDE connector doesn’t have a keyed slot, so I made sure to match pin 1 against pin 1 of the logic board. I’ve never destroyed a SATA drive converter by plugging it in the wrong way, but I’m not about to start now.
The cables were all intact as well and tucked inside the chassis- this was far from a “slash and burn” gut job. When I picked it up, I assumed I might have stumbled into a random collection of Bondi Blue iMac parts– not a fully functional computer missing a hard drive!
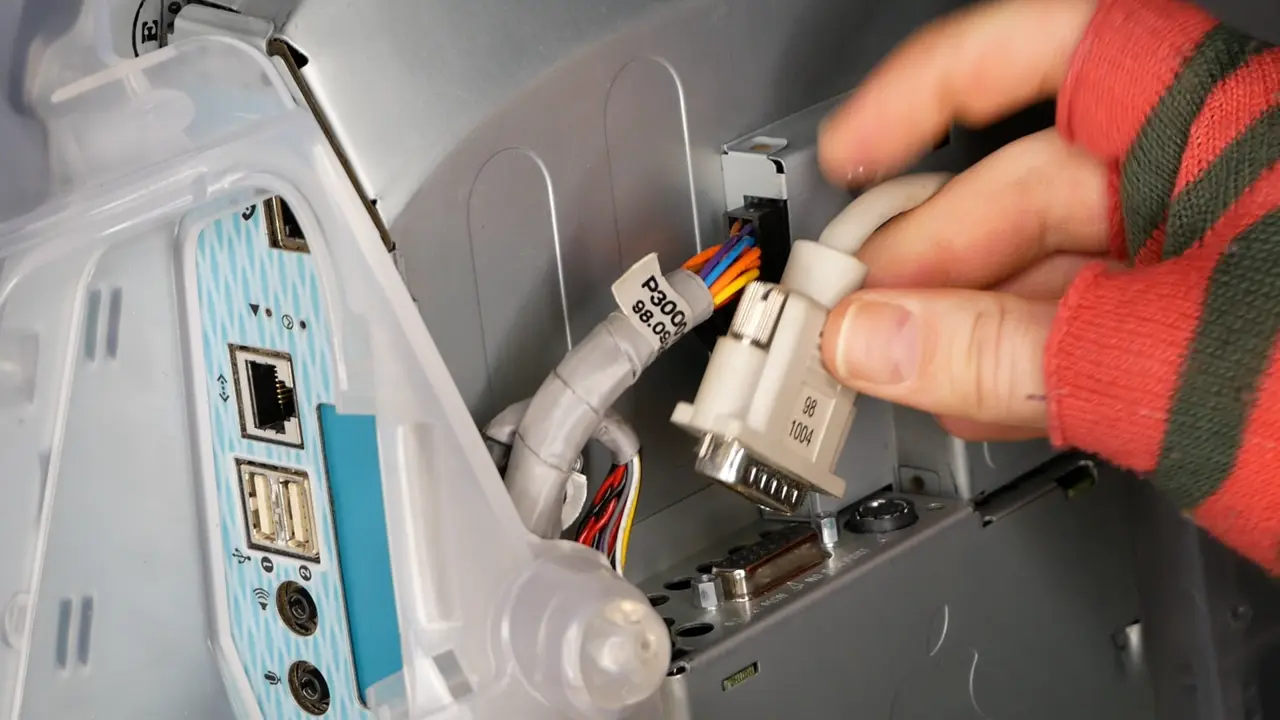
I plugged the components in, and performed a function test, and it seemed to work well!
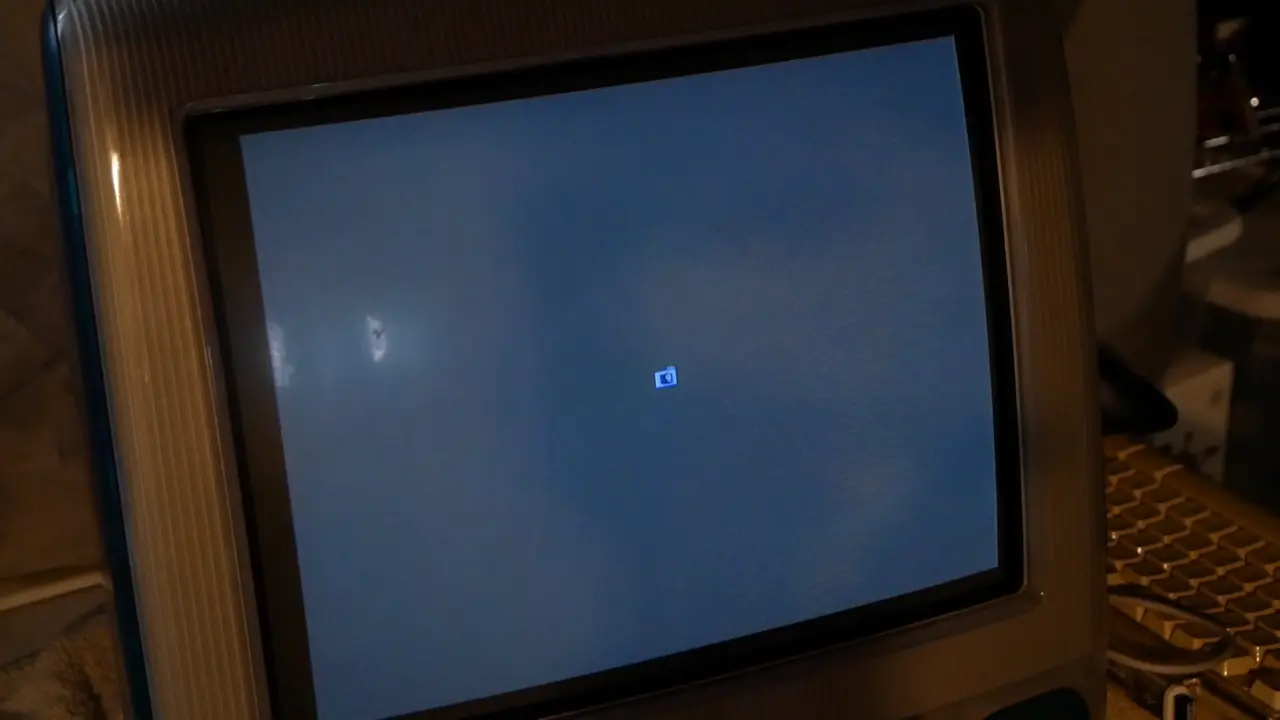
Even the 24X CD-ROM drive (the tray loader, compared to the slot loaders of later models) worked just fine! I was able to install OS 8.5.1 from an installation disk (donated by a friend of the channel), and was even able to get it online.

After confirming that the main components all seem to work, I cleaned the whole thing off a bit more thoroughly. I spent another hour on the tape (there’s still some on it I’m sure), and scrubbed the chassis down with some water (with only the slightest bit of Windex on some of the rough parts).
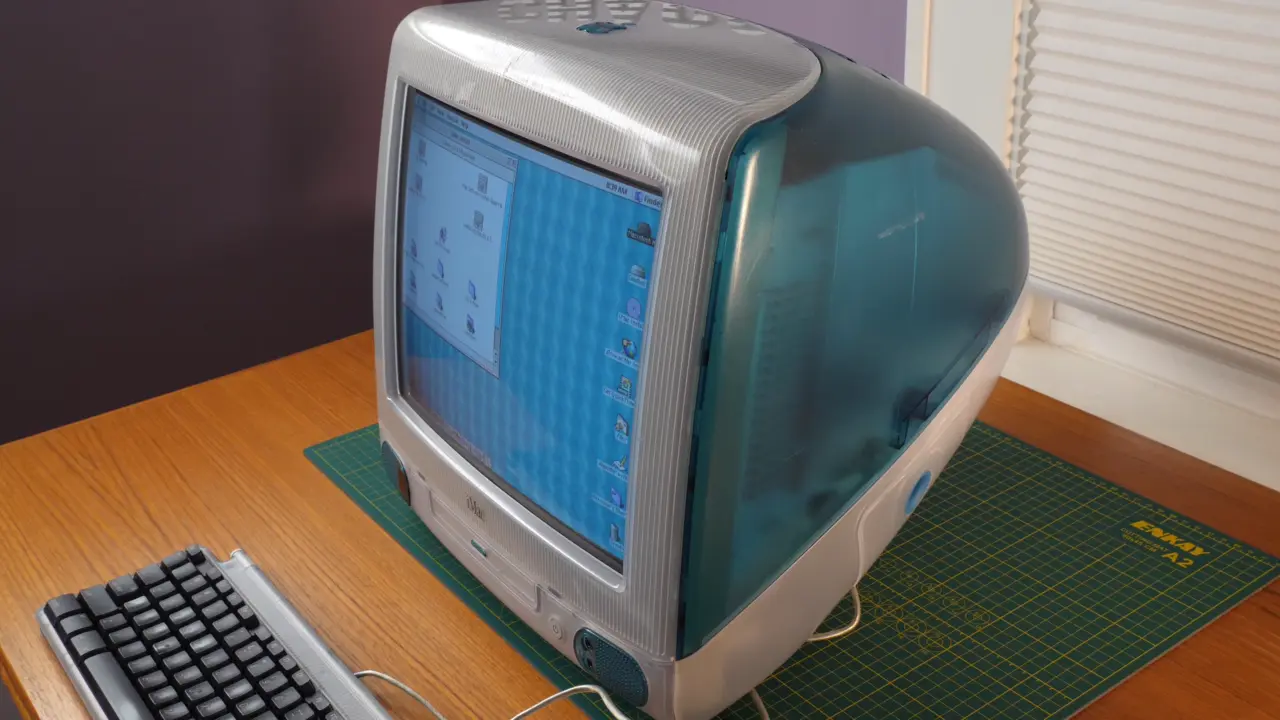
What next for this Bondi Blue iMac G3?
Well, eventually I’m going to seek a second opinion on the CRT. While my initial observation isn’t showing anything too scary, I’m far from a CRT expert.
I’m also going to be on the lookout for a cap kit- something tells me the 90s capacitors in this thing are not long for this world. When I do that work, I’ll also likely disassemble the chassis a bit more and clean some of the rougher spots. Might upgrade the RAM while I’m at it. I’m not sure the plastic can take a buffing- I’ll have to cross that bridge when I get to it.

Thanks for reading!
The written version of Veronica Explains is made possible by my Patrons and Ko-Fi members. This website has no ad revenue, and is powered by everyday readers like you. Sustaining membership starts at USD $2/month, and includes perks like a member-only Matrix/Discord space. Thank you for your support!